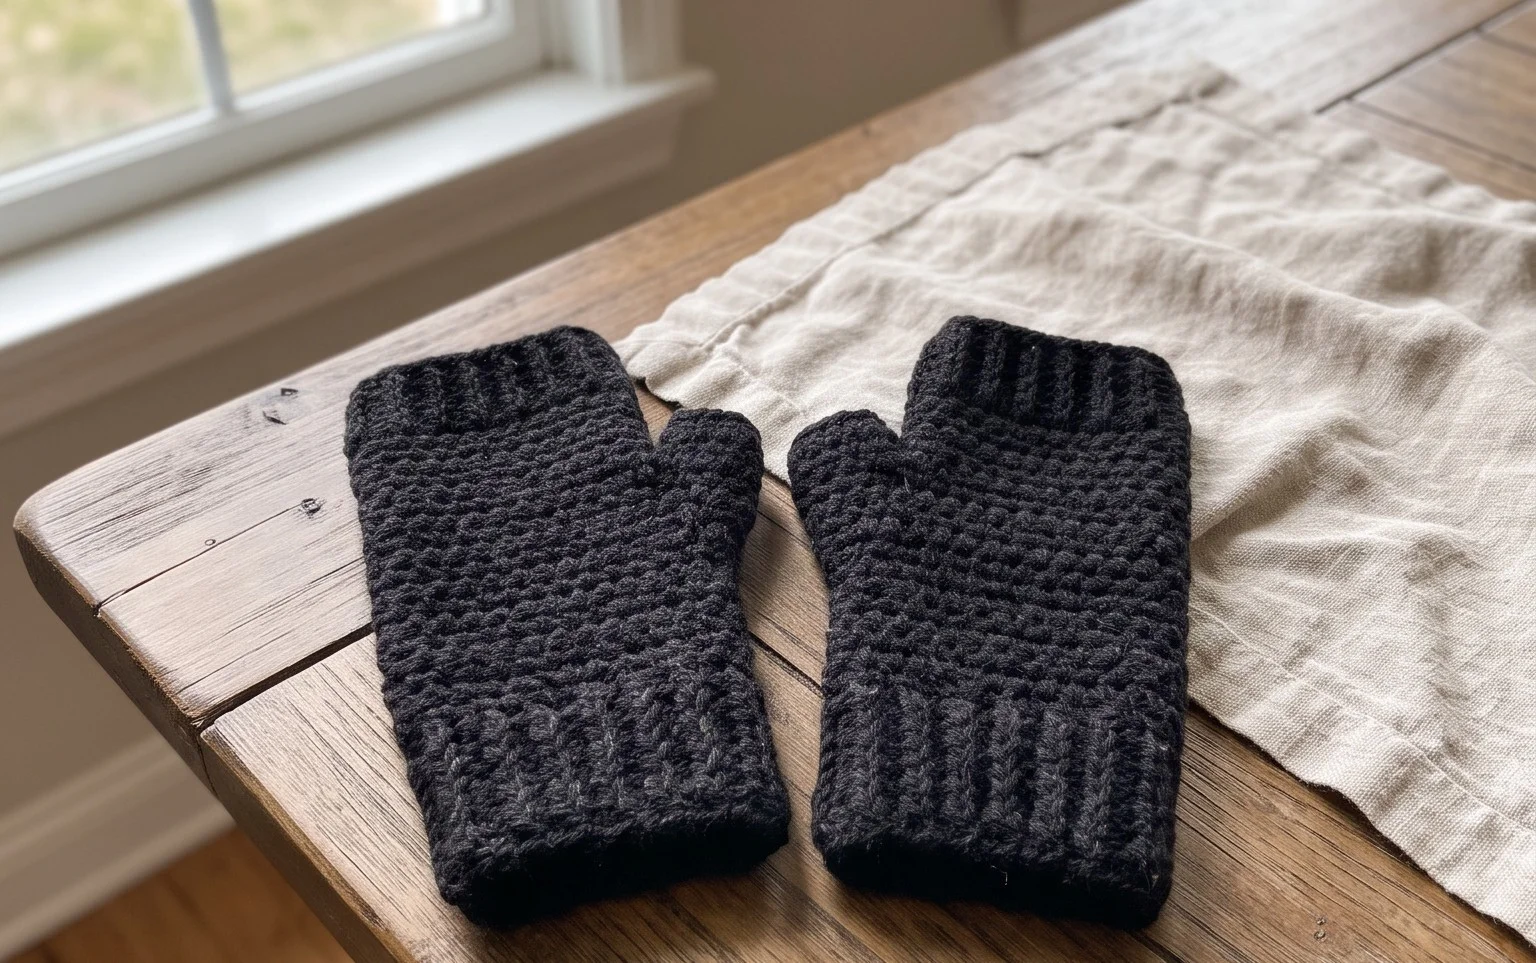
Funny Crochet Hat Free Patterns: Easy Step-by-Step Guide
A bright yellow hat topped with giant plush pom-poms or a beanie shaped like a sleepy octopus brings immediate cheer to a cold winter day. These projects turn simple acrylic yarn into whimsical accessories that make people stop and smile in the grocery store line. You will learn to manipulate basic single crochet stitches in the back loop to create a fabric that stretches comfortably around any head size. This technique creates a sturdy structure that holds its shape even after multiple washings. Beginners enjoy how quickly these items grow, while experienced makers appreciate the chance to experiment with bold color combinations and silly embellishments.
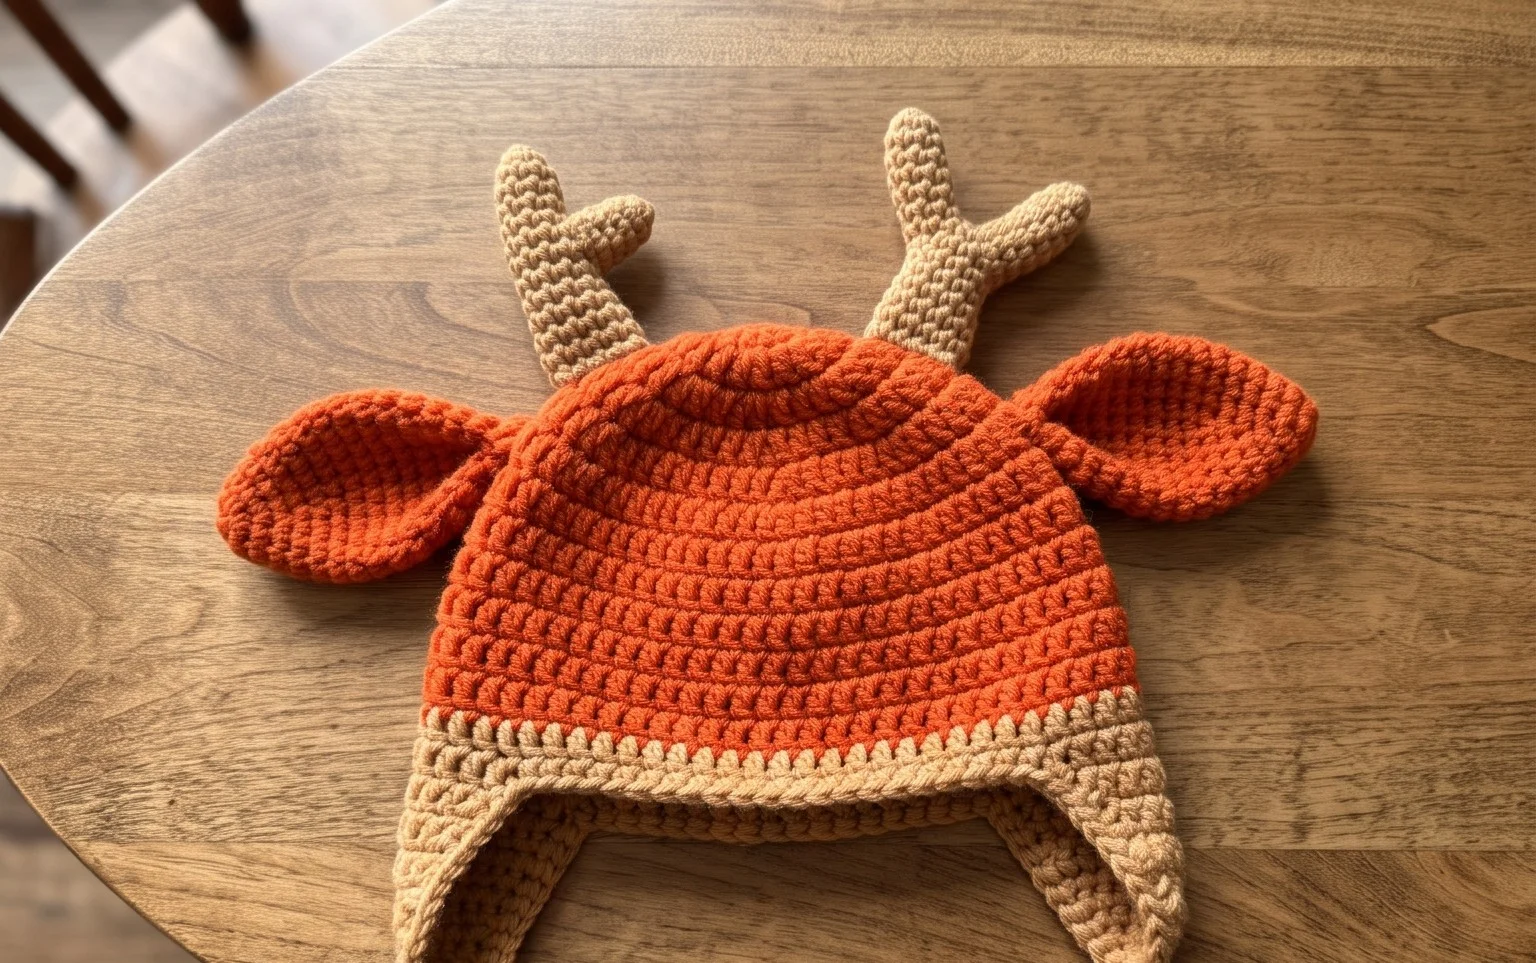
Why You’ll Love This Pattern
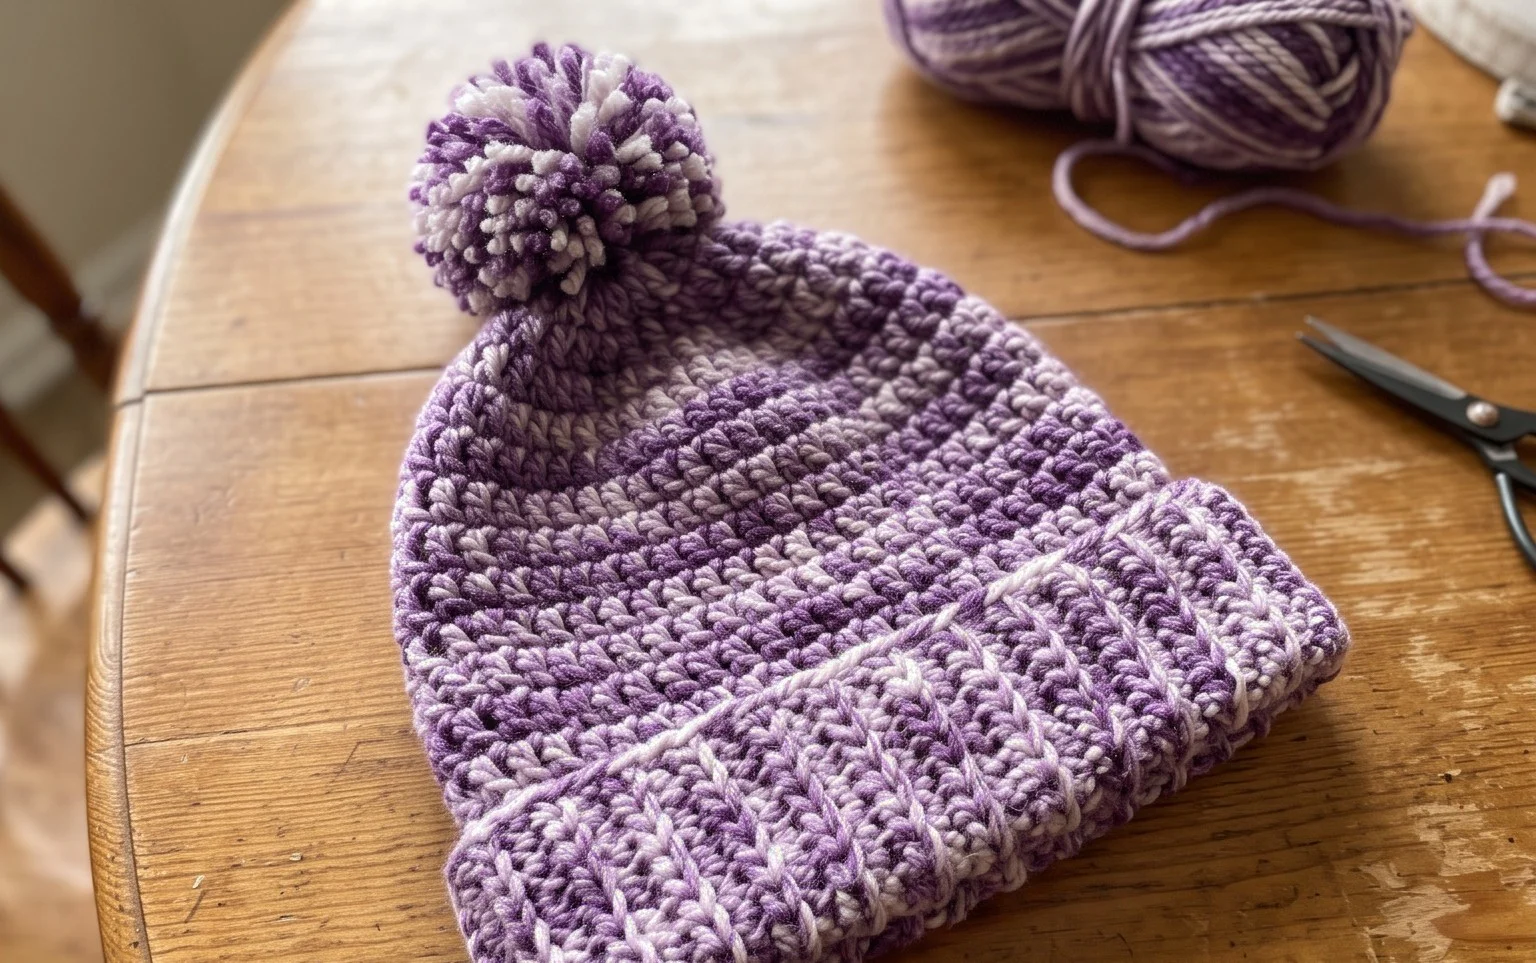
This crochet ribbed beanie pattern uses a simple construction method where you work a flat rectangle back and forth in rows before seaming it into a tube. The combination of back loop only single crochet stitches creates a fabric with natural elasticity and a squishy, knit-like texture. Because it relies on a simple vertical repeat, it is easy to customize the length by adding or subtracting foundation chains. You can complete this hat in a single evening, making it an ideal choice for last-minute handmade gifts or for building your market inventory. The dense stitch structure provides excellent warmth, ensuring the finished hat holds its shape through regular wear.
I managed to finish this beanie in just three hours. The ribbed texture is incredibly stretchy, and the instructions were clear enough that I did not have to worry about losing my place during the repeat rows.
— Sarah, hobbyist crocheter
Pattern Overview & Skill Level
- Skill Level: Beginner
- Approximate Time: 3 to 4 hours
- Construction: Worked flat in rows to create a rectangle, then seamed at the side and gathered at the crown.
- Finished Dimensions & Sizing: Adult medium (fits 21-23 inch head circumference). Height: 9 inches; Width (flat): 9 inches.
Materials & Supplies Needed
- Yarn: Worsted weight #4, 100% acrylic or wool blend, approximately 200 yards.
- Hook Size: 5.0 mm / H-8 crochet hook.
- Notions: Tapestry needle for seaming and weaving ends, locking stitch markers, and a measuring tape.
- Yarn substitutions: Cotton yarn will result in a heavier, less stretchy hat, while alpaca blends will increase the warmth and softness of the texture. Adjust your starting chain length if you use a thinner yarn to maintain the 9-inch height.
Stitch Guide & Abbreviations (US Terms)
- ch: Chain
- st/sts: Stitch/stitches
- sc: Single crochet
- BLO: Back loop only. Insert the hook only under the back loop of the V-shape at the top of the stitch.
- sl st: Slip stitch
- Turn: Turn your work clockwise to begin the next row.
Step-by-Step Pattern Instructions
Hat Body
- Row 1: Ch 41. Sc in the second ch from the hook and in each ch across. Turn. (40 sts)
- Row 2: Ch 1, sc in the BLO of each st across. Turn. (40 sts)
- Row 3-60: Repeat Row 2 until the piece measures 18 inches in length when slightly stretched.
Assembly and Finishing
- Fold the rectangle in half so the short ends meet.
- Using the tapestry needle and a long tail of yarn, whip stitch the two short ends together to create a tube.
- Once joined, weave the yarn through the stitches along one of the long edges of the tube.
- Pull the yarn tail tight to gather the top of the hat closed, creating the crown.
- Secure the center with a knot and weave in all loose ends on the inside of the hat.
Care & Washing Instructions
- Hand wash in cool water using a mild wool-safe detergent to maintain the integrity of the fibers.
- Lay the hat flat on a dry towel to air dry; avoid hanging, as this can cause the ribbed structure to stretch out of shape.
- Reshape the beanie while damp if necessary, ensuring the brim remains circular.
Pro Tips & Common Mistakes to Avoid
Maintain consistent tension throughout the rows; if your stitches are too tight, the hat will lose its signature squishiness. Use a stitch marker on the first stitch of every row to ensure you do not accidentally drop stitches at the edges, which is the most common cause of a slanted seam. Weave your yarn tails in multiple directions through the stitches to lock them in place so the seam does not unravel with wear. If you want a slouchier fit, simply increase the starting chain count by 5 to 10 stitches, keeping in mind that this will require approximately 20 extra yards of yarn.
Frequently Asked Questions
Can I use a larger hook for this pattern?
Using a larger hook will make the fabric looser and more breathable, but it may compromise the warmth and structural integrity of the ribbing.
Is this pattern suitable for children?
Yes, you can easily adjust the size by reducing the starting chain count to 30 and working fewer rows until the rectangle fits the child’s head circumference.
Am I allowed to sell hats made from this pattern?
You are welcome to sell finished items created from this pattern, provided you credit the designer and use your own photographs for the product listing.
Why does my seam look uneven?
The seam often looks uneven if the tension on the slip stitches or whip stitches is inconsistent. Try using a slightly smaller needle for the seaming process to pull the edges together more tightly.
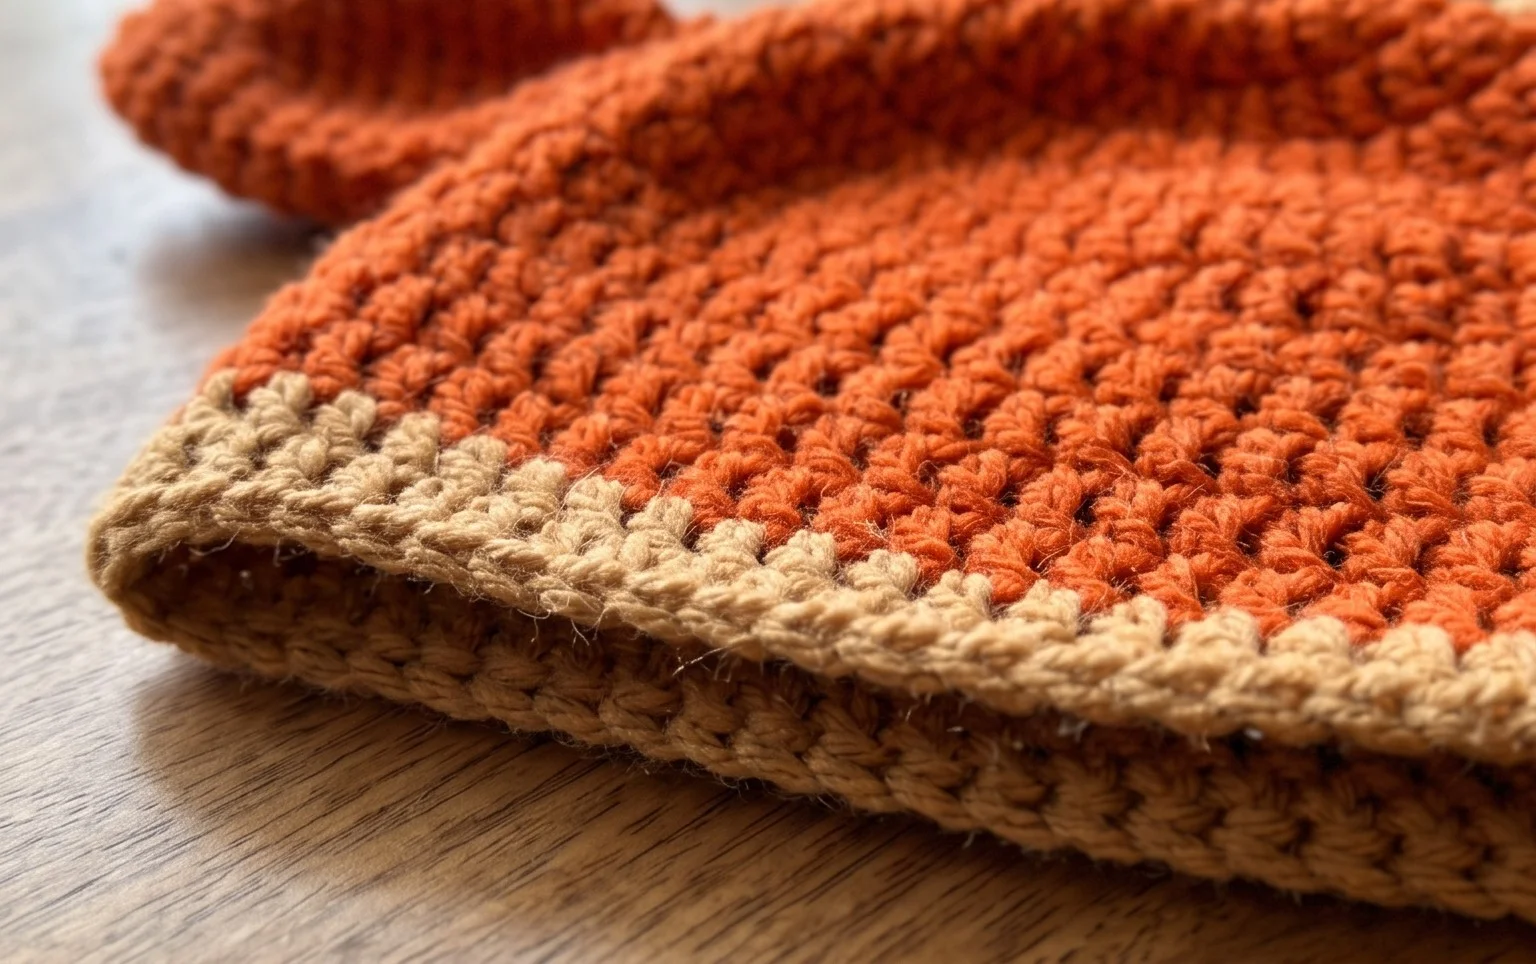
Your finished hat brings a dose of personality to your winter wardrobe, especially when finished with a bright contrast yarn for the ribbing. You might consider adding a second pom-pom to the top or using a bulky wool blend for even more warmth during the deepest freeze of January. Post a photo of your quirky creation on social media to show off those custom details. There are plenty more free patterns available on this blog to help you build your collection of handmade gifts for friends and family.