Easy Crochet Bat Amigurumi: Free Beginner Step-by-Step
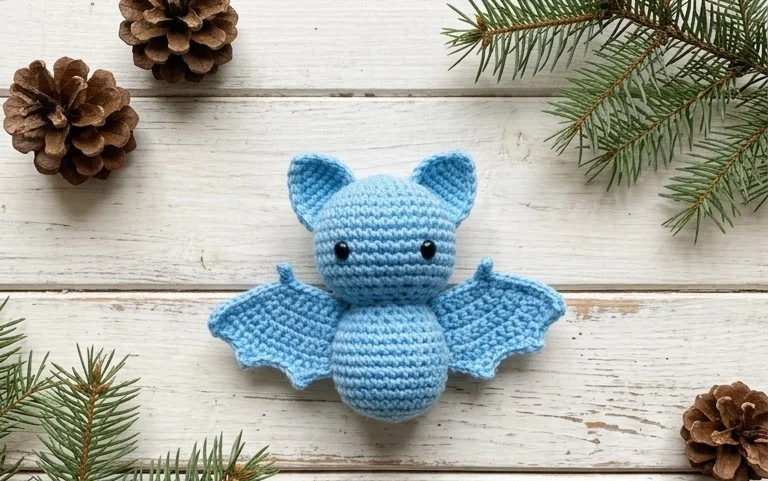
These little creatures feature soft, rounded bodies and delicate wings that make them perfect desk companions or whimsical seasonal decor. Beginners find this project especially rewarding because it builds confidence with basic shapes while teaching how to join limbs seamlessly. You will spend most of your time working in simple rounds to create the body, then finish with smaller pieces that add character to the design. It is a quiet, rhythmic process that helps you focus on your stitch tension while building something cute and squishy. Learning these fundamental techniques allows you to customize your own collection of miniature flying friends.
Why You’ll Love This Pattern
This crochet sphere pattern serves as the fundamental building block for hundreds of amigurumi projects. By mastering a simple increase-and-decrease sequence, you learn the mechanics of creating 3D shapes without complex seams. The pattern works up quickly, usually in under an hour, making it an ideal choice for using up small amounts of leftover yarn from larger projects. Its repetitive, rhythmic nature provides a meditative crochet experience that is easy to pick up and put down during busy days. Because it uses basic stitches, it is highly portable and requires only a minimal kit of tools.
I finally stopped struggling with lumpy shapes after trying this specific sphere method. The transitions are perfectly smooth and the closing technique leaves a nearly invisible finish at the top.
— Sarah, amigurumi hobbyist
Pattern Overview & Skill Level
- Skill Level: Beginner
- Approximate Time: 45 minutes
- Construction: Continuous rounds using a magic ring for a seamless finish.
- Finished Dimensions & Sizing: Approximately 3 inches in diameter when using worsted weight yarn.
Materials & Supplies Needed
- Yarn: Worsted weight (#4), 100% acrylic or cotton, approximately 25 yards.
- Hook Size: 4.0 mm (US G-6) to ensure a tight gauge that prevents stuffing from showing through.
- Notions needed: Tapestry needle, stitch markers to track the start of rounds, fiberfill stuffing.
- Safe yarn substitutions: You may use DK weight yarn with a 3.5 mm hook for a smaller, firmer sphere, or chunky weight yarn with a 5.5 mm hook for a larger, softer toy. Note that changing yarn weight will significantly alter the final diameter.
Stitch Guide & Abbreviations (US Terms)
- MR = magic ring
- ch = chain
- sc = single crochet
- inc = increase (work 2 sc in the same stitch)
- dec = decrease (insert hook in front loop of next two stitches, yarn over, pull through, yarn over and pull through both loops on hook)
- st/sts = stitch/stitches
- sl st = slip stitch
Step-by-Step Pattern Instructions
Sphere Body
- Rnd 1: Start 6 sc in a magic ring (6 sts).
- Rnd 2: Work 2 sc in each st around (12 sts).
- Rnd 3: [Inc, 1 sc] repeat 6 times (18 sts).
- Rnd 4: [Inc, 2 sc] repeat 6 times (24 sts).
- Rnd 5: [Inc, 3 sc] repeat 6 times (30 sts).
- Rnd 6-10: Sc in each st around (30 sts).
- Rnd 11: [Dec, 3 sc] repeat 6 times (24 sts).
- Rnd 12: [Dec, 2 sc] repeat 6 times (18 sts).
- Rnd 13: [Dec, 1 sc] repeat 6 times (12 sts).
- Rnd 14: Dec around 6 times (6 sts).
Finishing and Assembly
Before closing the sphere, ensure you have stuffed the interior firmly with fiberfill. Use your fingers to shape the stuffing so it reaches the edges of the sphere evenly. To finish, cut the yarn leaving a 6-inch tail. Thread the tail onto your tapestry needle and weave it through the front loops of the remaining 6 stitches. Pull the yarn tail tight to close the opening completely. Secure the end by knotting it near the base and pulling the needle through the center of the ball to hide the tail inside the stuffing.
Care & Washing Instructions
- Machine wash on a gentle cycle in cold water inside a mesh laundry bag.
- Lay the sphere flat on a towel to air dry, reshaping it periodically while damp to maintain its roundness.
- Avoid using high heat in a dryer, as this will melt synthetic fibers and cause the stuffing to lose its loft.
Pro Tips & Common Mistakes to Avoid
Achieving a professional look starts with your tension. If you notice gaps where the stuffing is visible, drop your hook size by 0.5 mm to create a denser fabric. Always place a stitch marker in the first stitch of every round; since you are working in a continuous spiral rather than joining rounds, it is very easy to lose your place. When weaving in your ends, avoid pulling the yarn too tight, as this can create a dimple on the surface of your sphere. If you wish to make the ball larger, continue the increase rounds (e.g., [Inc, 4 sc], [Inc, 5 sc]) before working your even rounds, keeping in mind that each additional increase round will require approximately 15 extra yards of yarn.
Frequently Asked Questions
Can I substitute the yarn for wool instead of acrylic?
Yes, you can use wool, but keep in mind that wool tends to stretch more than acrylic. You may need to use a slightly smaller hook to maintain the same density and prevent the fiberfill from poking through the stitches.
How do I know if I have stuffed the sphere enough?
A well-stuffed sphere should feel firm to the touch with very little give. If you can easily squeeze the ball and the stitches pull apart, add more fiberfill until the fabric maintains its shape under pressure.
Is this project suitable for absolute beginners?
This project is ideal for beginners. It focuses on the most essential amigurumi techniques, such as the magic ring and the invisible decrease, which serve as the foundation for almost all stuffed crochet items.
Am I allowed to sell the items I make from this pattern?
You are welcome to sell finished items created from this pattern. Please credit the original design when listing your products online to support the designer’s work.
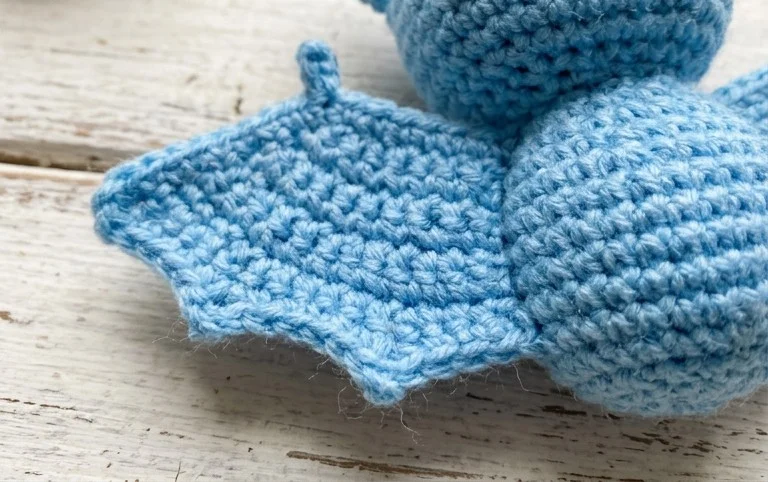
Your new handmade companion looks wonderful sitting on a shelf or tucked into a gift basket for a friend. You might consider using fuzzy chenille yarn next time to give the wings a softer, more tactile texture compared to the standard acrylic. Sharing a photo of your finished work helps others see how different color choices change the final look of these creatures. Browse the rest of the blog for more patterns that use these same basic techniques for creating unique toys.