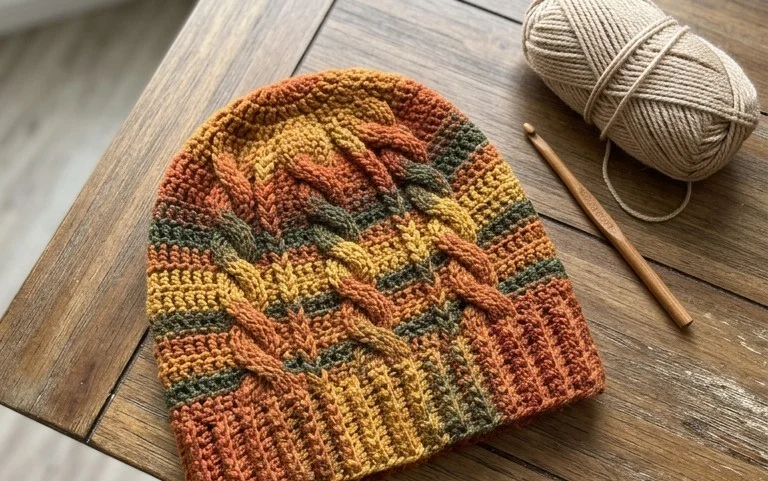
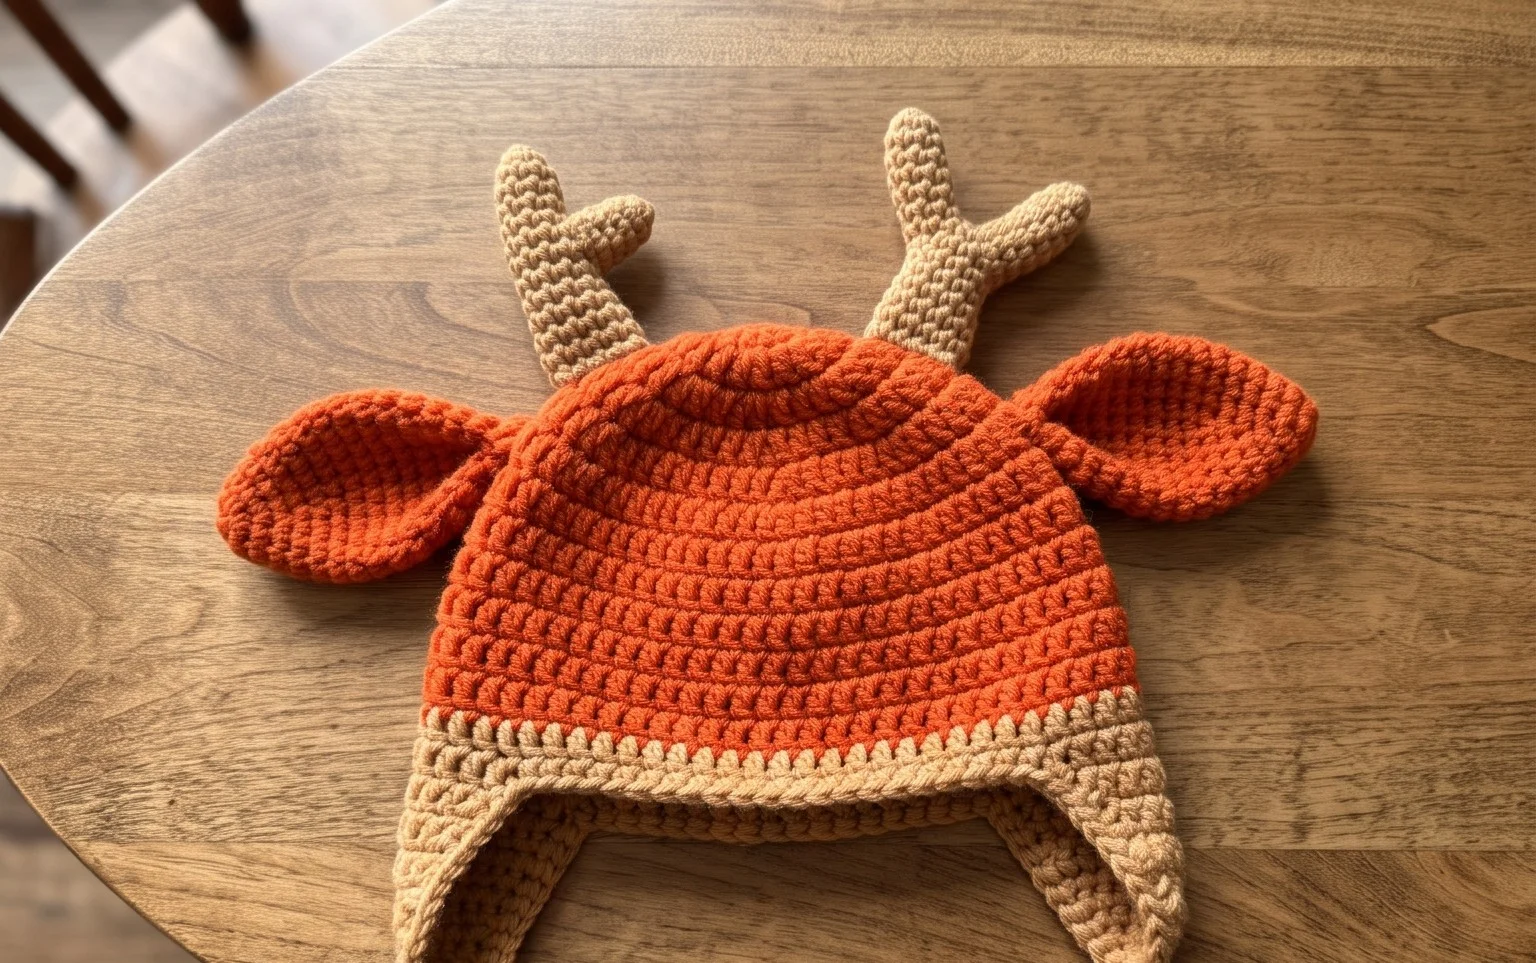
Easy Crochet Hat Pattern: Beginner Step-by-Step Guide
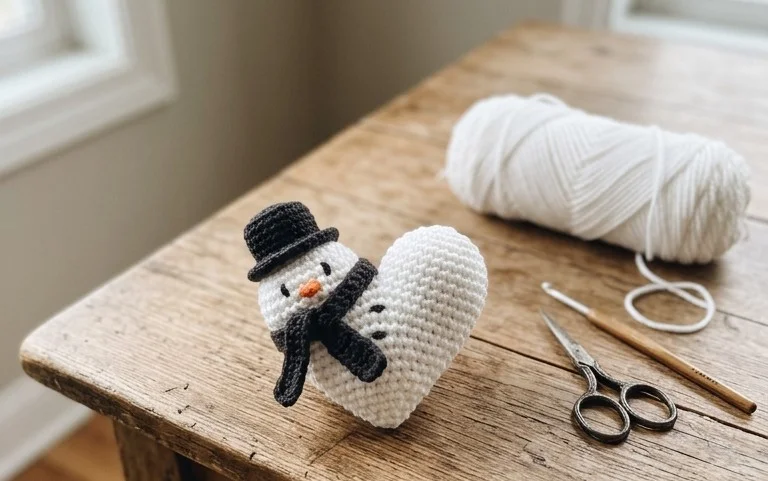
This miniature cap has a dense, squishy texture that fits right in the palm of your hand, making it a charming gift topper or a small festive decoration. The structured cotton fabric feels firm and substantial, so it keeps its shape without sagging. If you are a beginner who finds large garments intimidating, you will appreciate how quickly the rounds accumulate to form a finished object. You will learn to manage tension while working in a tight spiral, which creates an even finish that hides your starting point entirely. It is a rewarding project for any crafter needing a quick, satisfying win.
Why This Project Is Worth Making
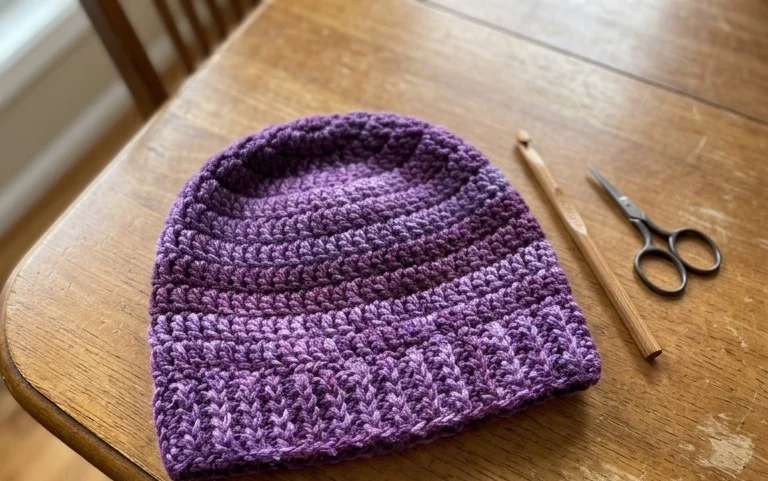
This beginner-friendly project works up in a single evening, making it a reliable choice when you need a handmade gift in a hurry. The pattern relies on basic stitches and simple shaping, which minimizes the need for complex color changes or difficult counting. Because it uses a small amount of worsted weight yarn, you can easily pull from your existing stash to complete the entire piece without needing to purchase new materials. The structure is sturdy enough to hold its shape during daily use, and the repetitive nature of the rounds creates a meditative flow that makes the work feel less like a chore and more like a relaxing hobby.
I finished this project in about two hours while watching television. The instructions are very clear, and the stitch counts helped me stay on track without having to restart my rows.
— Sarah, hobbyist crocheter
Pattern Overview & Skill Level
- Skill Level: Beginner
- Approximate Time: 2 to 3 hours
- Construction: Worked in continuous rounds using a magic ring for a seamless, professional finish
- Finished Dimensions: 4 inches tall by 3 inches wide
Materials & Supplies Needed
- Yarn: Worsted #4 weight, 100% cotton, approximately 50 yards in your preferred color
- Hook Size: 5.0 mm (H-8)
- Notions: Tapestry needle for weaving in ends, a locking stitch marker to track the start of rounds, and a small amount of polyester fiberfill for stuffing
- Yarn Substitutions: Acrylic worsted weight yarn works well as a direct swap and will result in a slightly softer, more pliable final item. Avoid using bulky or lightweight yarns, as these will alter the finished size and potentially create gaps in the fabric that allow the stuffing to show through.
Stitch Guide & Abbreviations (US Terms)
- MR: Magic ring
- ch: Chain
- sc: Single crochet
- inc: Increase (work 2 sc in the same stitch)
- dec: Decrease (single crochet 2 together over the next 2 stitches)
- sl st: Slip stitch
- st(s): Stitch(es)
Step-by-Step Pattern Instructions
Body
- Rnd 1: Start 6 sc into a MR. (6 sts)
- Rnd 2: Work 2 sc in each st around. (12 sts)
- Rnd 3: (1 sc in next st, inc in next st) repeat 6 times. (18 sts)
- Rnd 4: (1 sc in next 2 sts, inc in next st) repeat 6 times. (24 sts)
- Rnds 5-10: sc in each st around. (24 sts)
- Rnd 11: (1 sc in next 2 sts, dec) repeat 6 times. (18 sts)
- Rnd 12: (1 sc in next st, dec) repeat 6 times. (12 sts)
At this stage, stop crocheting to add the fiberfill. Ensure the stuffing is packed firmly toward the base but leave enough room at the top to allow the final round to close without excessive tension.
- Rnd 13: (dec) repeat 6 times. (6 sts)
Finishing
Cut the yarn, leaving a 6-inch tail. Use your tapestry needle to weave the yarn through the front loops of the remaining 6 stitches. Pull tight to close the opening completely. Secure the yarn with a knot and bury the remaining tail inside the body of the project before trimming the excess.
Care & Washing Instructions
- Machine wash on a gentle cycle in cold water (maximum 30°C) inside a mesh laundry bag.
- Reshape the item while damp and lay it flat on a clean towel to air dry completely.
- Avoid using chlorine bleach, as this will damage the fibers and cause uneven fading of the yarn color.
Pro Tips & Common Mistakes to Avoid
- Maintain consistent tension by holding the yarn tail firmly as you begin the magic ring, which prevents the center hole from stretching open later.
- Always place a stitch marker in the first stitch of every round. Because this project is worked in a continuous spiral rather than joined rounds, it is very easy to lose your place without a marker.
- When weaving in your ends, run the needle through the interior of the stitches rather than the surface to keep the finish invisible and secure.
- If you choose to adjust the size, remember that adding more increase rounds will require significantly more yarn and will change the proportions of the item; ensure you have enough extra material on hand before starting a larger version.
Frequently Asked Questions
Can I use a different yarn weight for this project?
Changing the yarn weight will alter the dimensions of the finished item. A thinner yarn will result in a smaller piece, while a thicker yarn will make it larger. You may need to adjust your hook size to ensure the fabric remains tight enough to hold the stuffing.
How do I know if I have the correct gauge?
For this specific amigurumi-style project, an exact gauge is less important than ensuring your stitches are tight enough so that the stuffing does not poke through the holes. If you see large gaps between your stitches, try using a smaller crochet hook.
Is it possible to sell items I make from this pattern?
You are welcome to sell finished items created from this pattern. I ask that you credit the pattern design to me and use your own photographs to represent your work.
Why do my rounds look like they are spiraling?
This is expected behavior for a pattern worked in continuous rounds. Because you do not join with a slip stitch at the end of each row, the stitches naturally shift slightly to the left, which creates the spiral appearance. This is a standard characteristic of amigurumi construction.
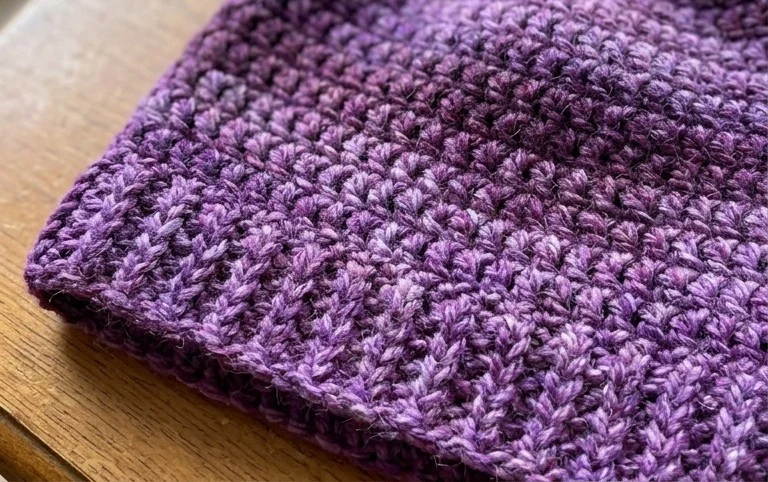
Seeing your finished accessory come together with just a few yards of cotton is a genuine joy. If you want to experiment, try holding two strands of thinner yarn together for a bulky, textured look that works up even faster. You can find more simple projects by browsing the full archive on my site. Please post a picture of your creation on social media so others can see your color choices. Working through these loops is a simple way to spend an afternoon and build your skills.