Easy Granny Square Crochet Blanket: Free Pattern
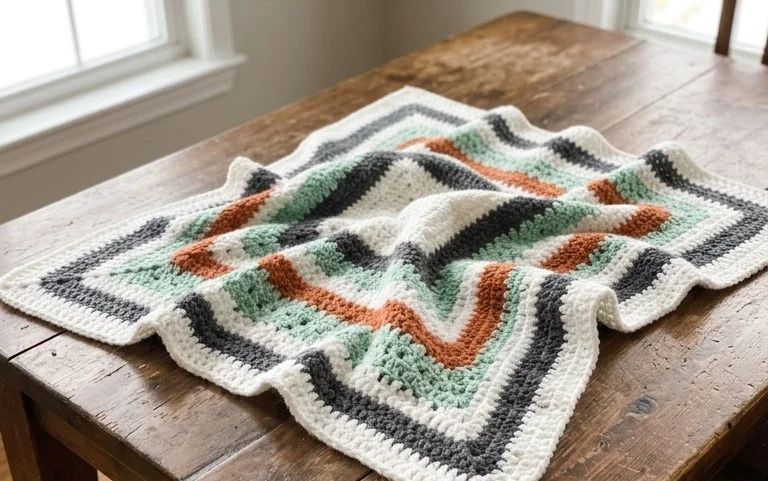
A soft stack of cotton squares feels dense and squishy in your hands, ready to be joined into a cozy living room throw. This project suits anyone who wants to build a handmade blanket without getting lost in complicated diagrams or counting stitches for hours on end. The finished fabric has a classic, structural look that stands up to daily use on the sofa. You will learn how to maintain a rhythm with double crochets and chain spaces to keep the edges straight. Working in rounds from the center creates a predictable pace that makes this a relaxing project for weekend afternoons.
Why You’ll Love This Pattern
The Classic Crochet Granny Square is the foundation of countless heritage-style blankets, bags, and garments. This project is ideal for beginners because it focuses on a repetitive cluster technique that builds rhythm quickly. You will find that the construction is forgiving, allowing you to focus on maintaining consistent tension rather than complex stitch variations. Because it uses small amounts of yarn per square, it serves as a practical way to use up leftover yarn from larger projects. You can easily scale the size of your final piece by simply joining more squares together.
I learned to crochet using this exact square pattern. The instructions are so clear that I felt confident after just a few rounds and now I have a whole stack of them for a new throw blanket.
— Sarah, beginner crafter
Pattern Overview & Skill Level
- Skill Level: Beginner
- Approximate Time: 30 to 45 minutes per square
- Construction: Worked in joined rounds, starting from the center and expanding outward.
- Finished Dimensions: Approximately 5 inches by 5 inches when using recommended yarn and hook.
Materials & Supplies Needed
- Yarn: Worsted weight #4, 100% acrylic or wool blend, approximately 15 yards per square.
- Hook Size: 5.0 mm (US H-8).
- Notions: Yarn needle for weaving ends, scissors.
- Safe yarn substitutions: You may use DK weight yarn with a 4.0 mm hook for a smaller, denser square or chunky weight yarn with a 6.0 mm hook for a larger, lacier square.
Stitch Guide & Abbreviations (US Terms)
- ch: chain
- st(s): stitch(es)
- sl st: slip stitch
- dc: double crochet
- dc cluster: 3 dc worked into the same chain space
- sp: space
- RS: right side
Step-by-Step Pattern Instructions
Granny Square Body
- Rnd 1: Start with a magic ring. Ch 3 (counts as first dc throughout), 2 dc into ring, ch 2, *3 dc, ch 2; repeat from * twice more. Join with a sl st to the top of the beginning ch 3. (12 dc, 4 ch-2 sps)
- Rnd 2: Sl st into the next two sts and into the first ch-2 sp. Ch 3, 2 dc, ch 2, 3 dc all in the same sp. *Ch 1, skip 3 dc, (3 dc, ch 2, 3 dc) in the next ch-2 sp; repeat from * twice more. Ch 1, join with a sl st to the top of the beginning ch 3. (24 dc, 4 ch-2 sps, 4 ch-1 sps)
- Rnd 3: Sl st into the next two sts and into the first ch-2 sp. Ch 3, 2 dc, ch 2, 3 dc in the same sp. *Ch 1, 3 dc in the next ch-1 sp, ch 1, (3 dc, ch 2, 3 dc) in the next corner ch-2 sp; repeat from * twice more. Ch 1, 3 dc in the last ch-1 sp, ch 1, join with a sl st to the top of the beginning ch 3. (36 dc, 4 ch-2 sps, 8 ch-1 sps)
- Rnd 4: Continue in established pattern, working (3 dc, ch 2, 3 dc) in each corner ch-2 sp and 3 dc in every ch-1 sp along the sides, with ch 1 between clusters. Join with sl st. (48 dc, 4 ch-2 sps, 12 ch-1 sps)
Finishing
Fasten off, leaving a 6-inch tail. Use the yarn needle to weave the tail through the back of the stitches to secure it. If you are joining squares, leave a longer tail (approximately 12 inches) to facilitate whip-stitching the squares together.
Care & Washing Instructions
- Machine wash on a gentle cycle in cool water (max 30C/86F).
- Lay the square flat on a towel to air dry, ensuring it is reshaped to original square dimensions while damp.
- Avoid using bleach or high heat, as these can melt synthetic fibers or cause wool to felt.
Pro Tips & Common Mistakes to Avoid
Maintaining consistent tension is vital for a square that lays flat; if your squares are curling, try going up a hook size. Always place a stitch marker in the first chain of your starting chain-3 to make joining the rounds much easier. When weaving in your ends, run the needle through the base of the stitches on the back side of the work to keep the join invisible. If you want to adjust the size, simply add more rounds following the logic of working clusters into spaces, but be aware that larger squares will require significantly more yarn.
Frequently Asked Questions
Can I use a different yarn weight for this pattern?
Yes, you can use any yarn weight. Just choose a crochet hook that is appropriate for the yarn label recommendation to ensure the fabric remains flexible.
How do I know if my square is the right size?
Check the dimensions after completing Round 4. If the square is too small, increase your hook size; if it is too large or feels too holey, decrease your hook size.
Is this pattern suitable for complete beginners?
This pattern is highly recommended for beginners as it only requires knowledge of chains and double crochets, which are the fundamental building blocks of the craft.
Can I sell items made from this pattern?
You are welcome to sell finished items created from this pattern. We suggest checking the specific terms provided by the yarn manufacturer if you intend to mass-produce or use the item for commercial advertising.
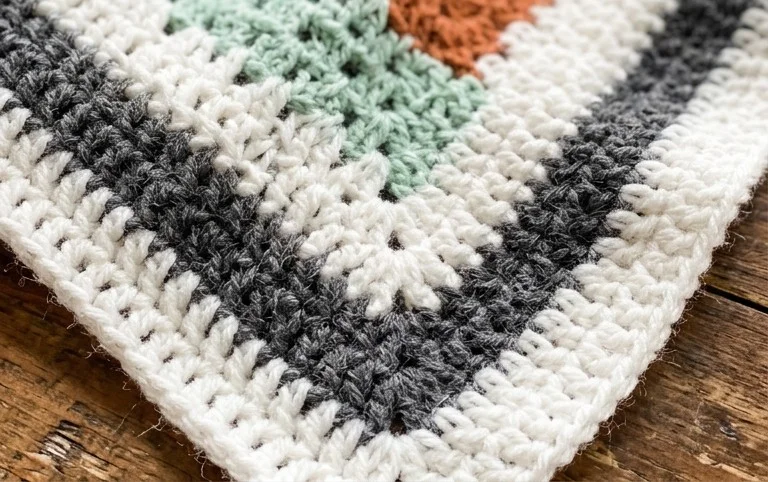
Your finished blanket represents a unique piece of home decor that you created one square at a time. Try using a variegated yarn for a surprising color change effect in every row or keep it solid for a modern look. You might want to upload a photo of your progress to social media to show off the joining technique you chose. Check the archives on this blog to find more free projects for your next afternoon of crafting, including textured borders and matching pillow covers to complete your room style.