Easy Fall Crochet Centerpiece: Free Step-by-Step Pattern
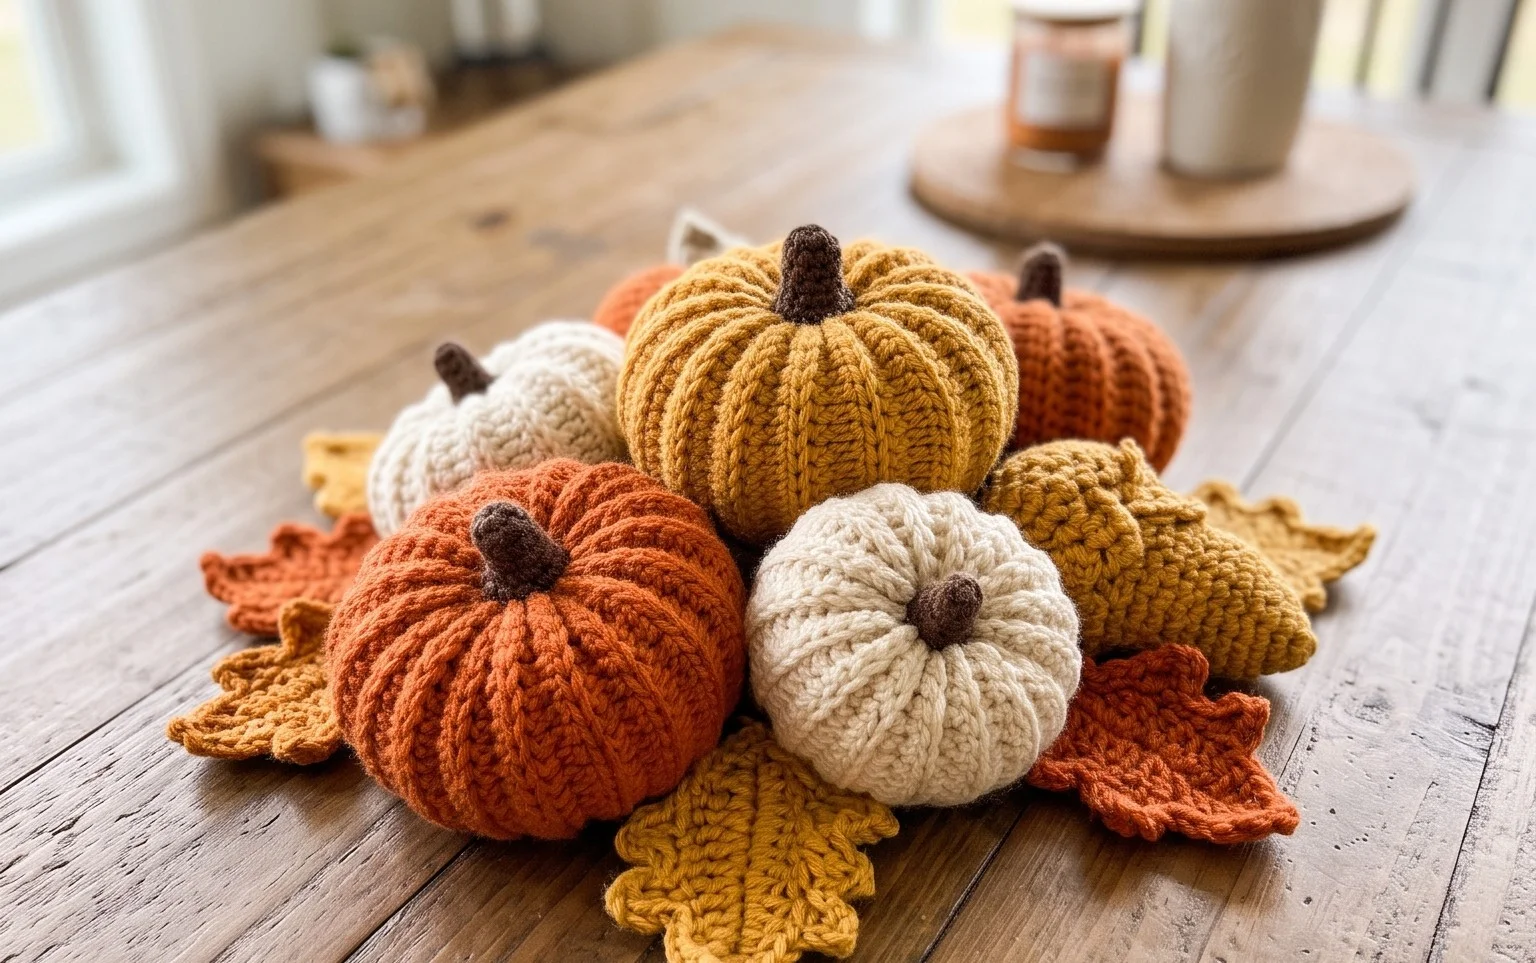
A thick cotton coaster softens the hard surface of a wooden coffee table and protects the finish from condensation on cool autumn evenings. This simple project is satisfying because it transforms a small bundle of scrap yarn into something functional in just half an hour of focused work. You will learn how to maintain a smooth spiral shape by using a stitch marker at the start of every round to keep your counts consistent. Whether you are a beginner looking to practice your single crochet stitches or a seasoned maker needing a quick gift, this piece offers a tactile way to refresh your home decor for the change of seasons.
Why You’ll Love This Pattern
This beginner-friendly crochet coaster pattern provides a practical way to protect your furniture while practicing fundamental stitch techniques. The design relies on a continuous spiral, which removes the need for visible seams or awkward slip-stitch joins at the end of every round. Because each coaster works up in under thirty minutes, it is an excellent project for using up small amounts of leftover cotton yarn from larger makes. The dense, flat surface created by the single crochet construction prevents moisture from seeping through, ensuring your tables stay dry even with chilled glassware.
I managed to finish a full set of four coasters in one afternoon using yarn scraps I had lying around. The instructions were easy to follow and they look professional on my coffee table.
— Sarah, craft enthusiast
Pattern Overview & Skill Level
- Skill Level: Beginner
- Approximate Time: 20 to 30 minutes per coaster
- Construction: Working in continuous rounds starting from a center magic ring
- Finished Dimensions & Sizing: Approximately 4 inches (10 cm) in diameter
Materials & Supplies Needed
- Yarn: Worsted weight (#4) 100% cotton yarn, approximately 15 yards per coaster. Cotton is preferred for its heat resistance and absorbency.
- Hook Size: 5.0 mm (H-8) crochet hook.
- Notions: Tapestry needle for weaving in ends, scissors, and a stitch marker to track the beginning of rounds.
- Safe yarn substitutions: You may use acrylic yarn, but note that it is less absorbent and may melt if used as a trivet for hot mugs. Wool yarn can be used if you intend to felt the coasters, which will shrink them significantly.
Stitch Guide & Abbreviations (US Terms)
- MR: Magic Ring. A method of starting a round by crocheting over an adjustable loop.
- ch: Chain.
- sc: Single crochet. Insert hook, yarn over, pull up a loop, yarn over, pull through both loops on hook.
- inc: Increase. Work 2 sc in the same stitch to add volume.
- st(s): Stitch(es).
- sl st: Slip stitch.
- BLO: Back loop only. Working into the rear loop of the V-shape on top of the stitch to create a textured ridge.
Step-by-Step Pattern Instructions
Main Coaster Body
- Rnd 1: Start with a MR, work 6 sc into the ring. Pull the tail tight to close the center. Place a stitch marker in the last stitch (6 sts).
- Rnd 2: Work 2 sc in each st around (12 sts).
- Rnd 3: 1 sc, inc around (18 sts).
- Rnd 4: 2 sc, inc around (24 sts).
- Rnd 5: 3 sc, inc around (30 sts).
- Rnd 6: 4 sc, inc around (36 sts).
- Rnd 7: Working in BLO for this round only, work 1 sc in every st around to create a decorative edge (36 sts).
- Finishing: Work one sl st into the next stitch to smooth the transition. Fasten off, leaving a 6-inch tail for weaving.
Assembly and Finishing
Use your tapestry needle to weave the starting tail into the center of the magic ring to ensure it does not unravel. Weave the final tail through the stitches on the back side of the coaster, moving back and forth to lock the yarn securely before trimming the excess. If the coaster looks slightly curled, dampen it lightly with water and press it flat with a heavy book for one hour to set the shape.
Care & Washing Instructions
- Machine wash your cotton coasters on a gentle cycle with cold water to prevent shrinking.
- Reshape the coasters while they are still damp and lay them flat on a towel to air dry.
- Avoid using fabric softener, as it can reduce the natural absorbency of the cotton fibers over time.
Pro Tips & Common Mistakes to Avoid
Maintain consistent tension throughout the rounds; if your stitches are too loose, the coaster will lose its flat shape and buckle. Use a stitch marker at the start of every round, as spiral rounds lack a clear seam, making it easy to lose track of where one round ends and the next begins. When weaving in your ends, ensure you go through the back loops only to keep the front side of the coaster clean and professional. If you decide to increase the size to create a larger mat, remember that each additional round requires an increase of 6 stitches, and you will need significantly more yarn for each added layer.
Frequently Asked Questions
Can I use a different weight of yarn for this project?
Yes, but changing the yarn weight will alter the final size. A lighter yarn will create a smaller coaster, while a heavier yarn will result in a larger one. You may need to adjust your hook size accordingly to maintain a tight fabric.
Is it okay to sell coasters made from this pattern?
You are welcome to sell finished items created with this design. Please credit the original pattern designer when listing your products online or in person.
Why does my coaster look like a bowl instead of a flat circle?
A cupped or bowl-shaped coaster usually indicates that your tension is too tight or you are not increasing enough stitches. Ensure you have the correct stitch counts at the end of every round to keep the piece laying flat.
How can I make the coasters thicker?
You can hold two strands of yarn together while working the pattern with a larger hook size, or you can crochet two identical circles and sew them together at the edges for a double-thick coaster.
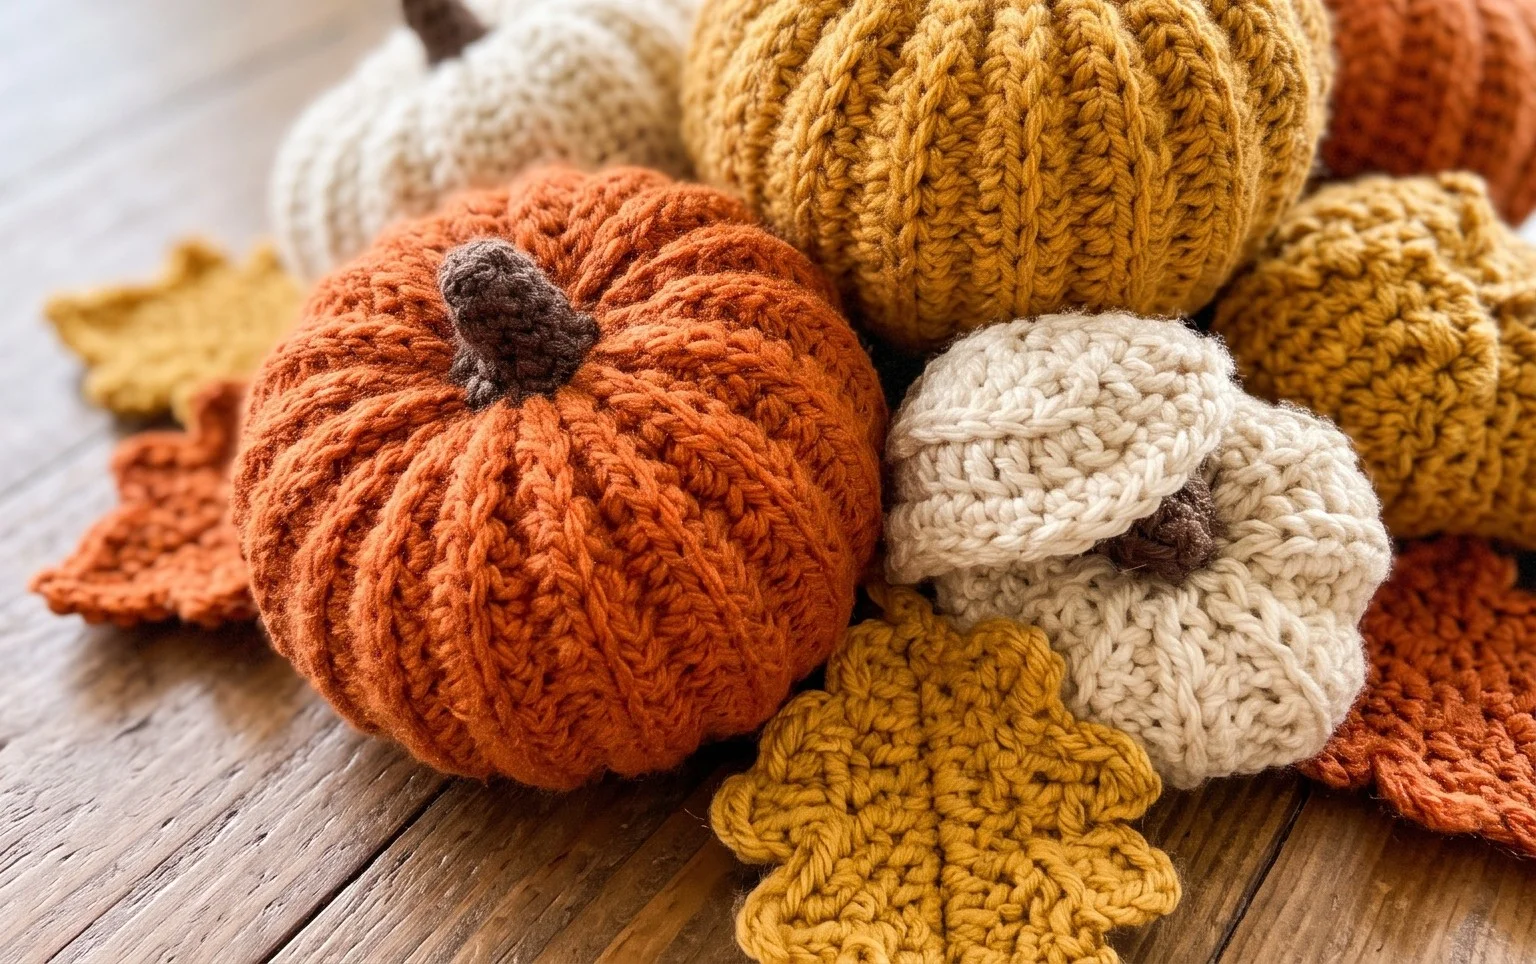
Your new crochet centerpiece creates a cozy atmosphere for any hot beverage served on a chilly afternoon. You can change the final look by working with variegated cotton yarn or by holding two different colors of thinner thread together for a marled texture. Please share a photo of your finished coasters on social media so others can see your color choices. Browse the rest of the blog for more free patterns to fill your afternoon. Experimenting with different border colors provides another way to customize these pieces for your seasonal table display.