Easy Crochet Baby Blanket: Free Beginner Pattern Guide
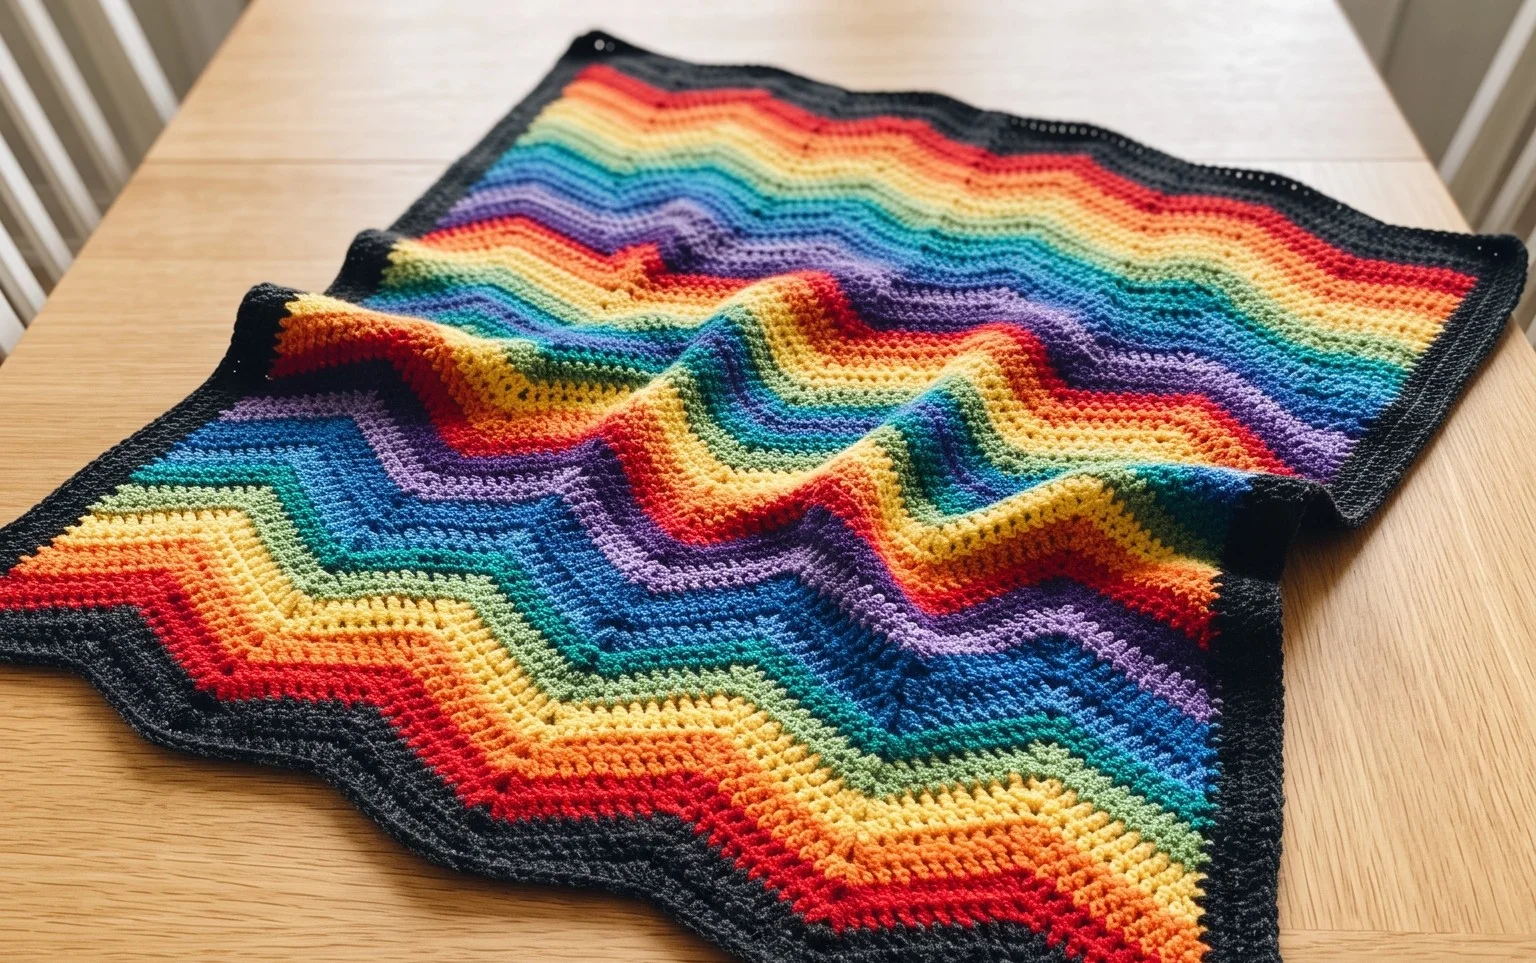
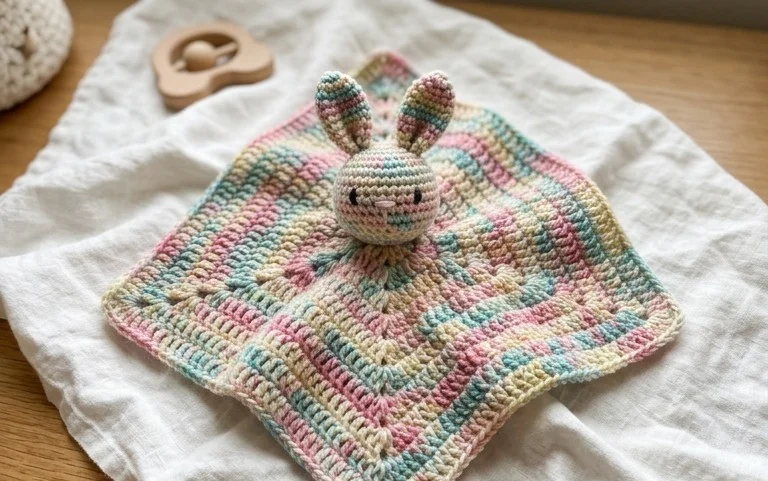
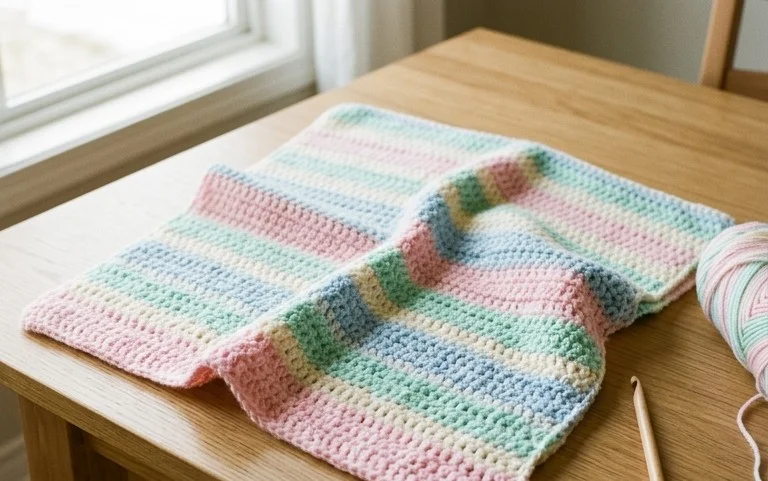
Soft, squishy yarn feels gentle against sensitive newborn skin while providing just enough warmth for stroller naps or tummy time. Creating a handmade blanket allows you to choose colors that match a nursery perfectly, making it a thoughtful gift for expecting parents or a quiet evening project for your own home. You will gain confidence working with repetitive stitch patterns that grow quickly, letting you see progress within just a few rows of movement. This guide focuses on simple counting and tension techniques, ensuring your finished piece remains uniform and cozy without any complicated shaping or difficult maneuvers to master.
Why You’ll Love This Pattern
This beginner-friendly crochet coaster pattern provides an immediate sense of accomplishment because you can finish a set in a single evening. The simple, repetitive stitches create a dense, functional fabric that effectively protects wooden surfaces from moisture and heat. Because the design uses a tight circular construction, it creates a sturdy base that lays perfectly flat without curling. The small yardage requirement makes this a perfect project for using up leftover yarn bits from larger items, helping you clear out your craft bin while creating useful household accessories.
I managed to whip up a matching set of four coasters in about two hours. The instructions are very clear, and the finished items look professional and clean on my coffee table.
— Sarah, hobbyist crocheter
Pattern Overview & Skill Level
- Skill Level: Beginner
- Approximate Time: 30 minutes per coaster
- Construction: Worked in continuous rounds from a magic ring
- Finished Dimensions: Approximately 4 inches in diameter
Materials & Supplies Needed
- Yarn: Worsted #4 weight cotton yarn, approximately 15 yards per coaster. Cotton is ideal for its absorbency and heat resistance.
- Hook Size: 5.0 mm (H-8) crochet hook.
- Notions: Tapestry needle for weaving in ends, a pair of scissors, and one locking stitch marker to track the start of each round.
- Safe yarn substitutions: You can use an acrylic worsted weight yarn for decorative purposes, though it will be less absorbent than cotton and may melt if exposed to very hot mugs.
Stitch Guide & Abbreviations (US Terms)
- MR: Magic ring
- ch: Chain
- sc: Single crochet
- inc: Increase (work 2 sc into the same stitch)
- sl st: Slip stitch
- st/sts: Stitch/stitches
- BLO: Back loop only (inserting your hook only under the back strand of the V-shaped stitch)
Step-by-Step Pattern Instructions
Coaster Body
Work in continuous rounds without joining at the end of each round. Place a stitch marker at the first stitch of every round to keep track of your position.
- Rnd 1: Start 6 sc into a magic ring. Pull the tail tight to close the center hole. (6 sts)
- Rnd 2: Work 2 sc in each st around. (12 sts)
- Rnd 3: 1 sc in next st, inc in next st repeat from * to * 6 times. (18 sts)
- Rnd 4: 1 sc in next 2 sts, inc in next st repeat from * to * 6 times. (24 sts)
- Rnd 5: 1 sc in next 3 sts, inc in next st repeat from * to * 6 times. (30 sts)
- Rnd 6: 1 sc in next 4 sts, inc in next st repeat from * to * 6 times. (36 sts)
- Rnd 7: 1 sc in next 5 sts, inc in next st repeat from * to * 6 times. (42 sts)
- Rnd 8: Work 1 sc in each st around in BLO to create a subtle ridge. (42 sts)
- Rnd 9: Work 1 sc in each st around. Join with a sl st to the first stitch. (42 sts)
Finishing
Cut your yarn, leaving a 6-inch tail. Pull the tail through the final loop on your hook. Thread the tail onto your tapestry needle and weave it securely into the back of the coaster through the base of the stitches. Trim any excess yarn flush with the fabric to ensure the coaster sits perfectly flat.
Care & Washing Instructions
- Machine wash on a gentle cycle in warm water using mild detergent.
- Reshape the coaster while damp and lay it flat on a clean towel to air dry.
- Do not bleach or tumble dry, as high heat can cause cotton fibers to shrink or distort the shape.
Pro Tips & Common Mistakes to Avoid
Consistent tension is the secret to a flat coaster; if your circles begin to ruffle or wave, your stitches are likely too loose. Always use a stitch marker at the first stitch of every round, as counting stitches in continuous rounds can be difficult without one. To weave in ends invisibly, follow the path of your stitches on the underside of the coaster rather than pulling through the front surface. You can adjust the size of the coaster by adding or omitting increase rounds; just remember that adding rounds will require more yardage, and reducing them will create a smaller diameter.
Frequently Asked Questions
Can I use a larger hook for this pattern?
Using a larger hook will result in a coaster with larger gaps between stitches, which makes it less effective at protecting your furniture from drips. Stick to the recommended 5.0 mm hook for the best density.
Is this project suitable for absolute beginners?
Yes, this pattern uses only basic single crochet stitches and a simple increasing sequence, making it an ideal first project for someone learning how to work in the round.
Can I sell the coasters I make from this pattern?
You are welcome to sell items made from this design, provided you credit the source. Please check the individual designer terms if you are using this as part of a larger collection or batch manufacturing.
Why is my coaster curling into a bowl shape?
Curling usually happens if your tension is too tight or if you have skipped an increase in one of the rounds. Double-check your stitch counts at the end of each round to ensure you have the correct number of increases.
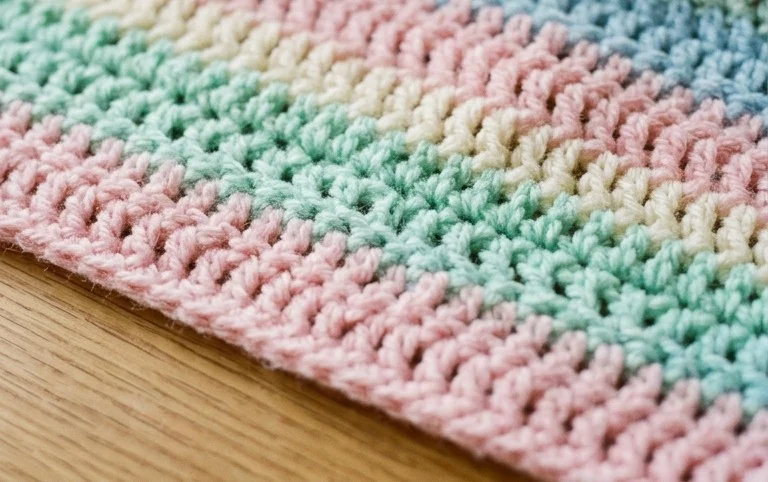
Holding a finished, freshly washed blanket brings a unique sense of pride that store-bought items simply cannot replicate. You might try alternating colors every ten rows to create bold stripes or adding a pom-pom border for extra texture. Taking a photo of your creation helps you track your progress as a maker, so share your finished work with fellow crafters online. Check the rest of the blog for more simple project ideas to add to your collection. Every stitch adds character to your handmade heirlooms.